Installing Java on Your Web Server
Solr requires Java in order to run correctly. As such, you will need to verify that Java is installed on your web server before you install Solr. If Java is not already installed on your web server, you can find instructions for installing it at the following link: https://java.com/en/download/help/download_options.xml
Solr will not start if it doesn’t have network access or can’t find Java. Once you have installed Java, perform the following checks to ensure that Java has access to the network.
To Enable Java to Access the Network
- Open the Java Control Panel. On Windows 10, you can access this by launching the Configure Java desktop app.
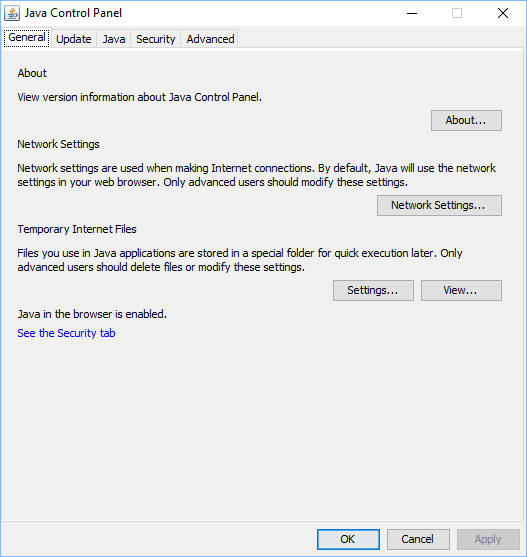
- Click Network Settings.
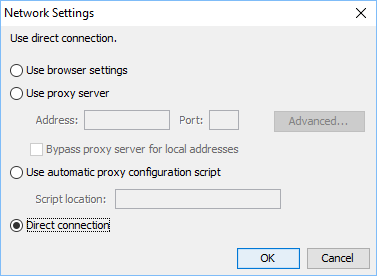
- Ensure the settings are correct for your server environment.
The least restrictive setting is Direct connection.
- Click OK.
To Configure Your Server Environment to Find Java
- Open the Windows System Properties. On Windows 10, you can type “environment” in the search field of your task bar and choose Edit the system environment variables from the Best Match group.
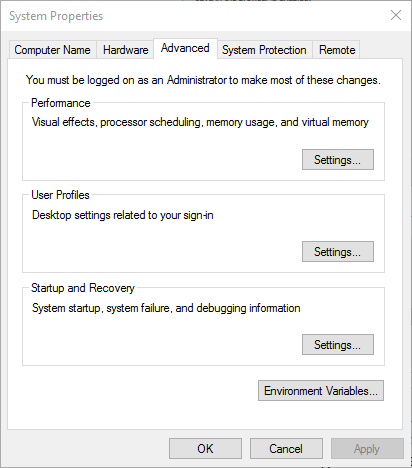
- Click Environment Variables.

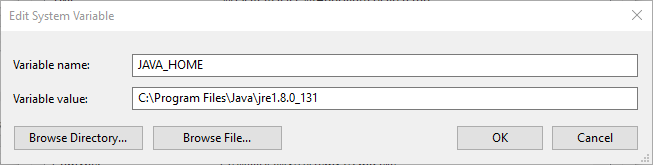
- In the System variables list, locate the JAVA_HOME environment variable.
- Verify the Value column contains the correct directory for the Java installation.
- If the variable does not exist, click New to create it.